Practice Using VFT Technology
Play with the features and settings on ThingLink to make your first VFT.
Background
The best way to learn how to utilize the features and settings of VFT technology to make a great Virtual Field Trip is to practice making one yourself! Follow the steps below to create a practice VFT and try out the tools and features built into ThingLink. If you get stuck on any step, ThingLink’s Certified Creator Course modules can help you troubleshoot.
To-Do
Create your first VFT:
- Log in to your Thinglink Account.
- Prepare an image to play with! Go to the ThingLink 360° image library. Briefly review some of the images and choose one to use as a base image for your first project.
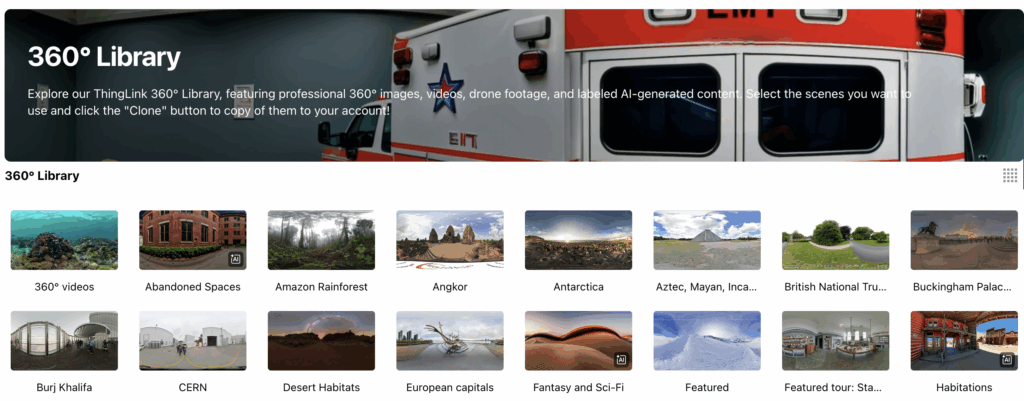
- Clone your selected image. Either select the thumbnail and click Clone when it appears at the top toolbar or open the image and select More actions > Clone in the top right corner.
- Find your newly cloned image in the Media tab on the left toolbar.
- Rename the image by choosing Rename from the context menu in the thumbnail view.
- Open your image, then click Edit in the upper right corner. Spend a few minutes exploring what you can do by adding tags and adjusting the settings of the image.
- Now that you’ve gotten familiar with the basics of ThingLink, spend some time exploring more advanced features by working through the Advanced ThingLink Features Exploration Checklist.
- You can decide if you want students to use these features or not in their own VFTs. However, it will be helpful to know how these additional features can enhance VFT designs and be prepared to support students if they have questions.